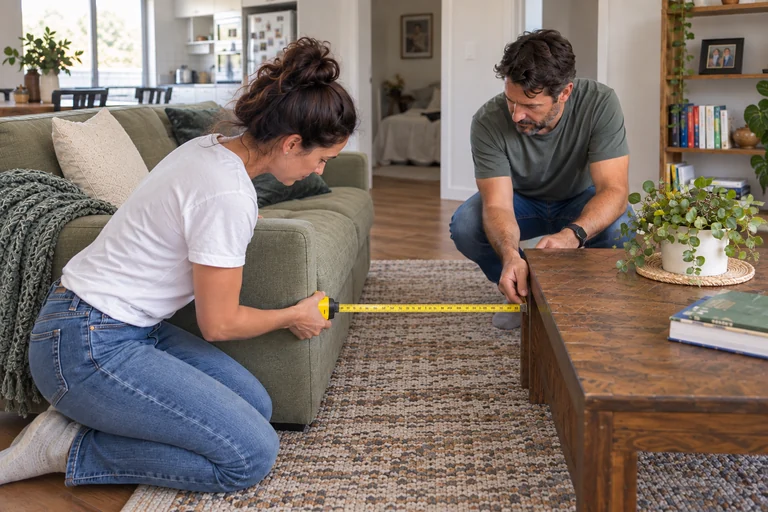
Start by checking a room size against your plan. Add your largest furniture, leave room to walk and open doors, then save the layout to My list so you can return to it later. This guide walks through each step, with examples you can follow.
1. Upload a clear floor plan
Open Measure & plan and choose your floor-plan image. JPG, PNG and WebP files work. Use the clearest copy you have: you should be able to read the room sizes and see the walls when you zoom in.
When the result appears, check that the outline follows the area you want to measure. If you are comparing indoor living space, decide whether to leave out the garage, porch, balcony and outdoor entertaining areas. Use the same choice for every home you compare.
For a home with more than one floor, check each floor separately. An upstairs void is an opening to the floor below, so leave it out when measuring usable upstairs floor space.
2. Check that the room sizes match your plan
FloorSQ needs one known size to work out the other distances on the drawing. Check the selected reference room against the sizes printed on your plan. For example, if a bedroom is labelled 3 m by 4 m, check that those sizes are entered and that the highlighted edges line up with the same room.
If you know the length of a wall instead, draw a reference line from one end of that wall to the other and enter its real length. FloorSQ will then use that line to size the plan. To use the room sizes again, remove the reference line.
Before adding furniture, measure another distance that is marked on the plan. If it does not match, check the room edges or the ends of your reference line. Repeat this check on each floor. If your plan has no sizes, use a measurement taken at the property or ask for a plan with dimensions.
Choose metres or feet in the unit selector, whichever is easier for you to work with. Getting this step right helps both the area estimate and the furniture sizes make sense.
3. Try your largest furniture first
Open Fine-tune and choose Space Planner. Click Add furniture, choose an item such as a bed, sofa or table, and enter its width and depth. Use a tape measure for furniture you own, or check the product page for something you are thinking of buying.
Use the full outside size of the item. A bed frame can be larger than its mattress, and a sofa's arms take up space too. If there is no matching furniture shape, use a rectangle or circle with the right measurements.
Start with the bed, sofa, dining table and other large pieces. Drag them into place and rotate them to try different arrangements. Duplicate matching chairs or bedside tables, and lock anything you want to keep in place while you move other items. Use Undo if you prefer the previous position.
4. Leave room to walk, sit and open doors
Furniture can fit inside a room and still make it awkward to use. After checking the room sizes, choose Show clearance to see the gaps between furniture and nearby walls or other items. Move a piece and watch how those gaps change.
Select the sofa, for example, and check the gap to the coffee table. Then look at how you would walk past it to reach the rest of the room. Use the ruler to check a particular gap if it is not labelled. If a distance line points the wrong way, select the furniture and adjust it with Clearance direction.
- Leave space to pull out dining chairs and sit down.
- Check that doors, wardrobe doors and drawers can open.
- Look for narrow gaps on the route between rooms. Use a tape measure at home to see how the gap would feel.
- Before buying a large item, check that it can get through the entrance, hallway and stairs as well as fit in its final position.
5. Keep furniture you want to try again
With Planner Plus, open My furniture to keep items you want to use in more than one layout. Paste a product link from a supported shop, then check that the size and version match the item you want. This is especially useful for sofas with several sizes or tables that come in different lengths.
Choose Save and try on plan to add the item to your collection and place it on the drawing. If you are still browsing, choose Save to my furniture and try it later. You can use the same collection in Measure & plan and Space Designer without entering the measurements again.
Use More details to keep the colour, price and product link together. Check the shop's page again before buying, as prices and availability can change.
6. Save your layout and find it in My list
Give the project a name you will recognise, such as the property address or 'Living room with corner sofa'. Add a project note at the bottom of the page if you want to remember something, such as a wall to measure when you next visit.
Choose Save to my list and wait for the saved message. Your plan, checked sizes, furniture layout and notes stay together. In Space Designer, use the save icon beside the heading above your plan. Saving to your account requires a paid Pass; if you see Upgrade to save, choose a suitable Pass first.
Open My list to see your saved floor plans with a thumbnail and area, making it easier to find the right one. Select a plan to continue working on it. You can also sign in to the same account on another device and open it there.
After making changes, check the save status before leaving. Measure & plan saves later edits automatically after the first save; in Space Designer, click Save changes. If a save fails, choose Retry save and wait for confirmation before closing the page or choosing another floor plan.
7. Choose a Pass when you need more tools
You can start with area measurement and basic furniture planning for free. Try two plans in your browser without an account, then sign in to continue uploading and use ready-made furniture shapes. Choose a paid Pass when you want to save layouts or check the gaps around furniture.
Passes last 30, 60 or 90 days and do not renew automatically. Choose a length that covers your house hunt or furniture project. Paid tools and access to saved projects end when the Pass expires; check Pricing for the available options and the Privacy Policy for how long saved work is kept.
- Home Project: check the gaps around a selected piece of furniture and save up to 10 Measure & plan projects.
- Planner Plus: check gaps across the whole layout, keep a My furniture collection, add items from product links and use Space Designer. Save up to 20 Measure & plan projects and 10 Space Designer projects.